
Enrollment for Account Managers
Overview
Audience: Account Managers
Purpose: In this article, we’ll take Account Managers step-by-step through the enrollment process for their clients and their organizations’ travelers.
To begin, configure approvals for your client’s enrollment requests:
In the left-hand menu, select “Company Admin”, then “Configure approval Types (Beta)”. You may also click here.
You will see this screen: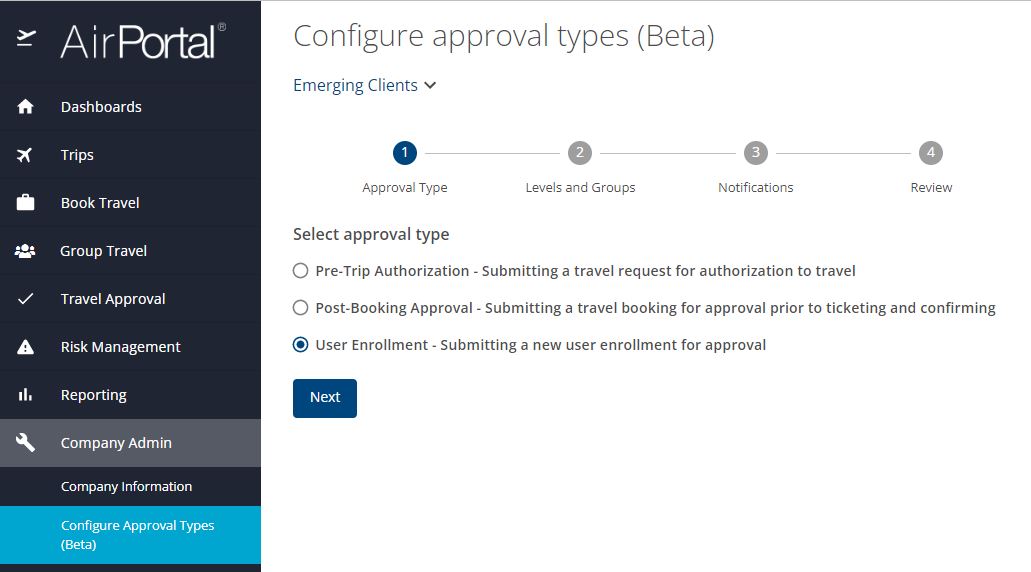
Select “User Enrollment - Submitting a new user enrollment for approval”, then click “Next”.
You will now see this screen: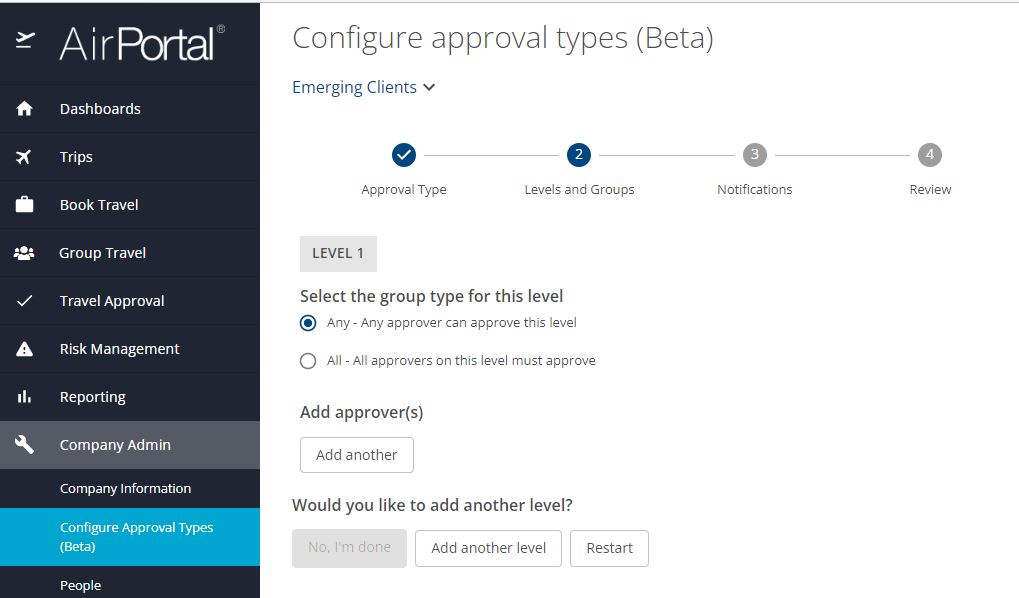
Define domains for automatic approval
Add as many company-specific domains that you want to be approved automatically. Non-company domains (such as gmail and yahoo) will not be accepted.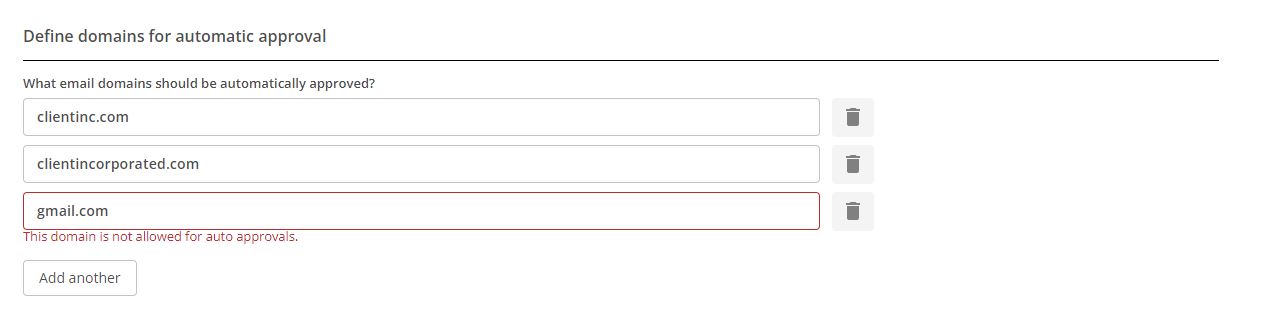
Select “Any” approver or “All” approvers for your client’s Level 1 approvals and add users who will be approvers for new enrollments.
An approver may be any active user in your client’s organization.Click the “Add another level” button to add more levels of approval, if needed.
Additional levels are required approvals. For example, three levels means three individuals need to approve. The standard best practice is one level for user enrollments.If no more approvers or levels are needed, click “No, I’m done”.
The screen will advance to the Notifications step: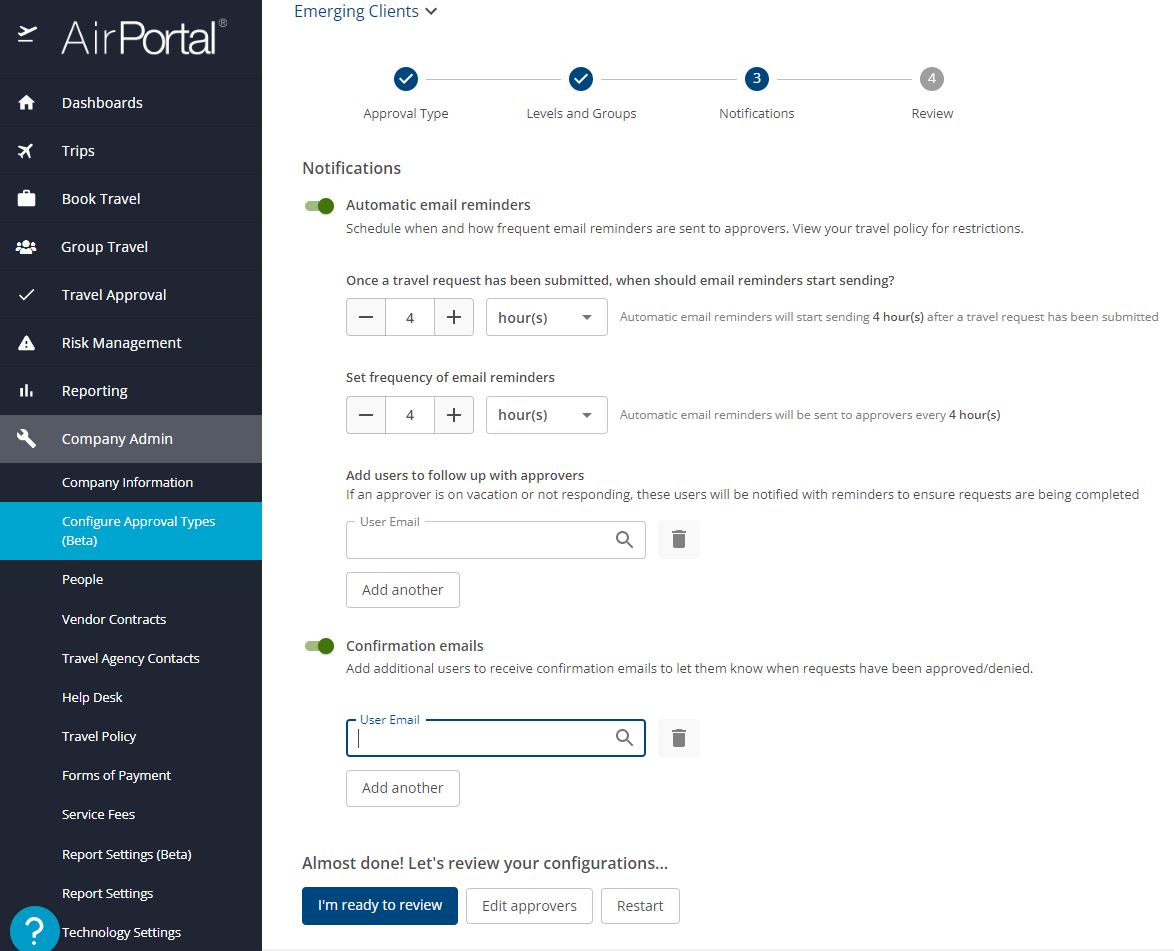
Use the toggle labeled "Automatic email reminders" to configure when and how often enrollment request reminders should be emailed to approvers. The "Confirmation emails" toggle allows you to designate additional users to receive confirmation emails when requests have been approved or denied.
When you're finished configuring notifications, click “I’m ready to review”.
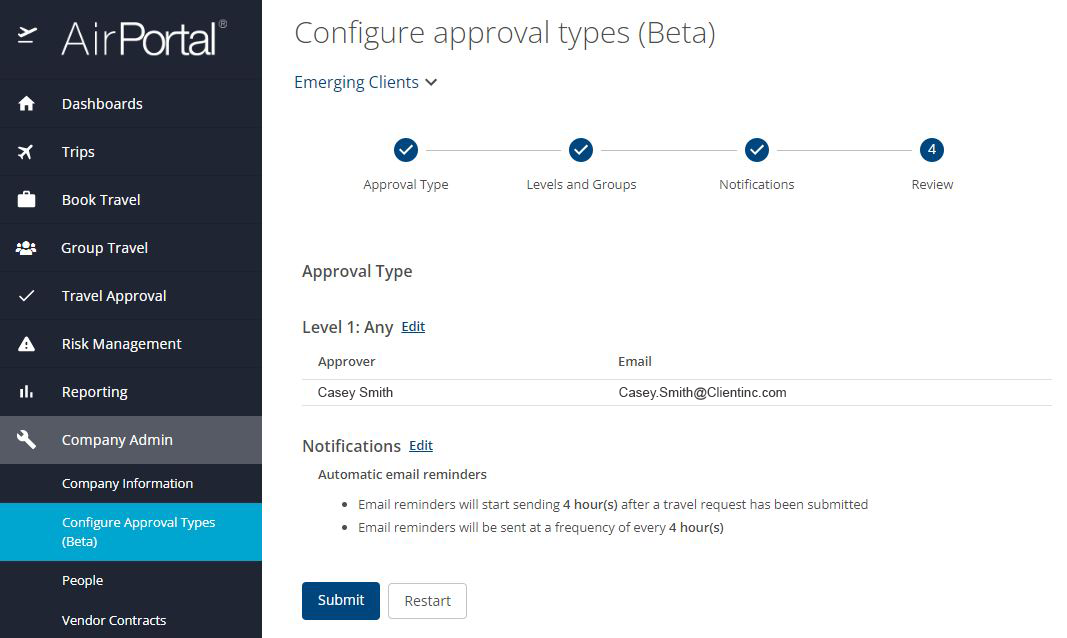
Review or edit your client’s configured approvers and notifications, then click “Submit”.
Next, provide your client contact with the following:
Their organization's enrollment URL. This will be the general enrollment URL, followed by the their account number. Example: airportal.cbtat.com/enroll/000000
Instructions to inform Travel Managers that travelers may be prompted with a screen at the time of first login to input other required information specific to their organization.
Instructions to encourage Travel Managers to supply their enrollment URL and enrollment training documentation to their new travelers. Travelers should be told to fill out ALL fields accurately and to enter their names as they appear on their travel documents.
Here's what the traveler will experience:
The new enrollment URL will take the traveler to this screen:
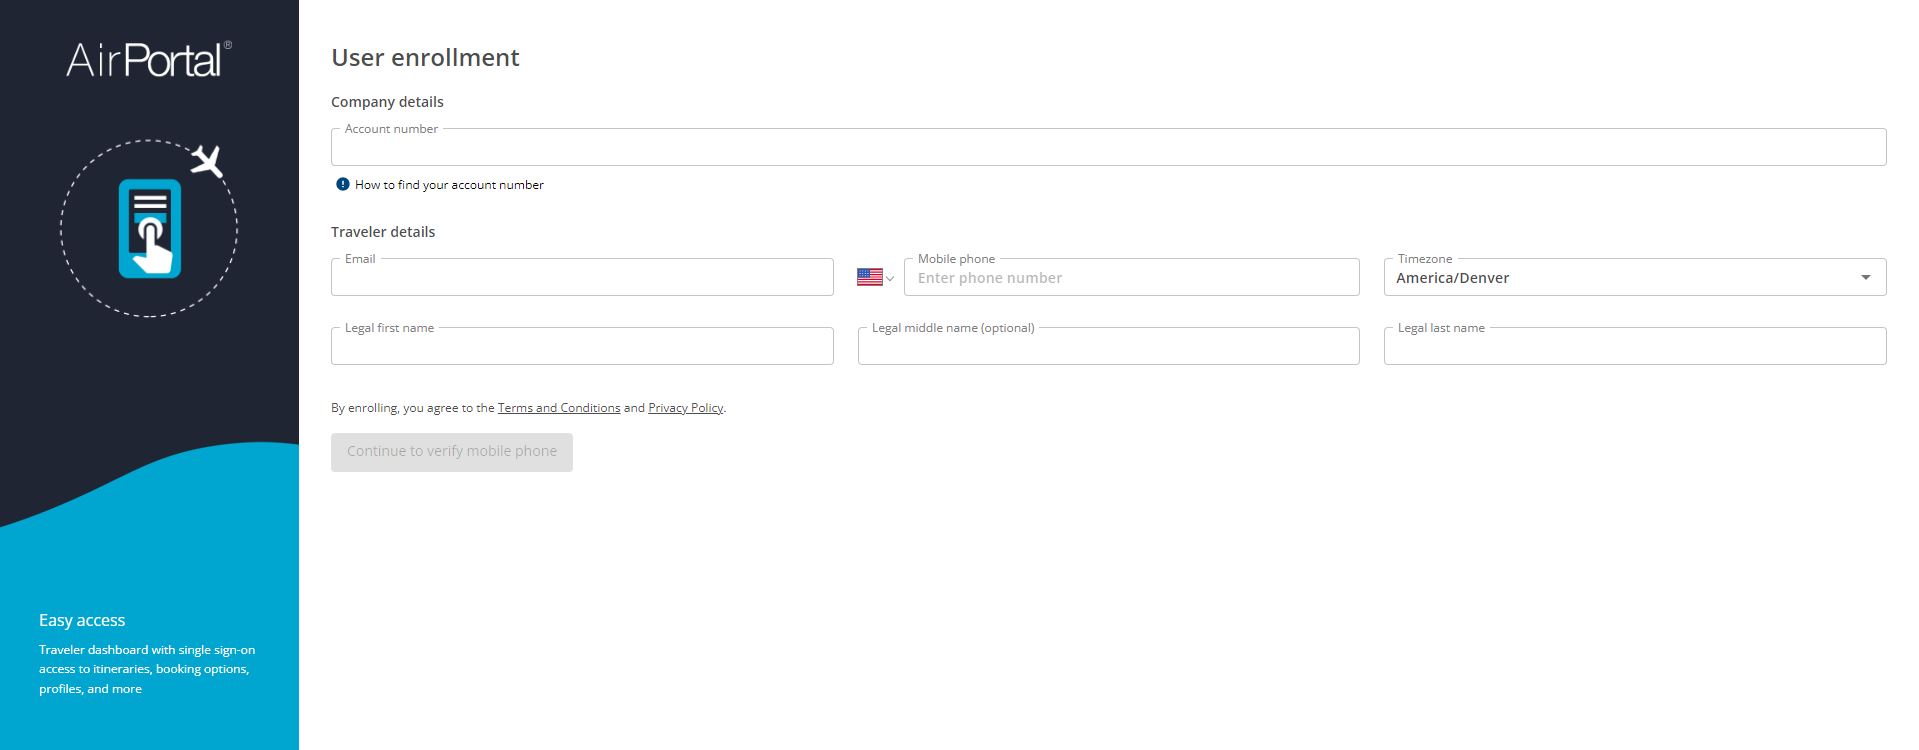
NOTE: The enrollment link will pre-populate the Account Number field. Travelers should not change or delete the account number.Once the traveler completes all required fields, they should click “Continue to Verify Mobile Phone”.
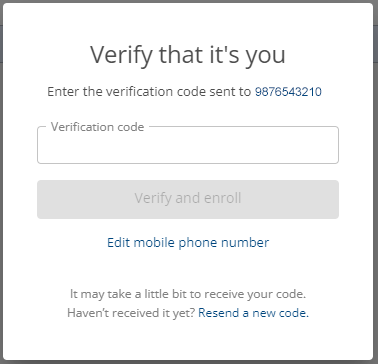
This will automatically text a 6-digit code to the phone number the traveler provided.
The traveler should input the code in the pop-up window and click “Verify and enroll”:
If the traveler’s email already has a profile, an alert will appear letting them know that their email is already in use:
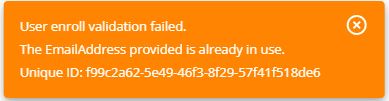
NOTE: If travelers see this alert, they will be instructed to contact their travel manager to continue.Upon successfully verifying their phone number, the traveler will see the following message on their screen:

At this point, the traveler may then close the screen.
What happens next:
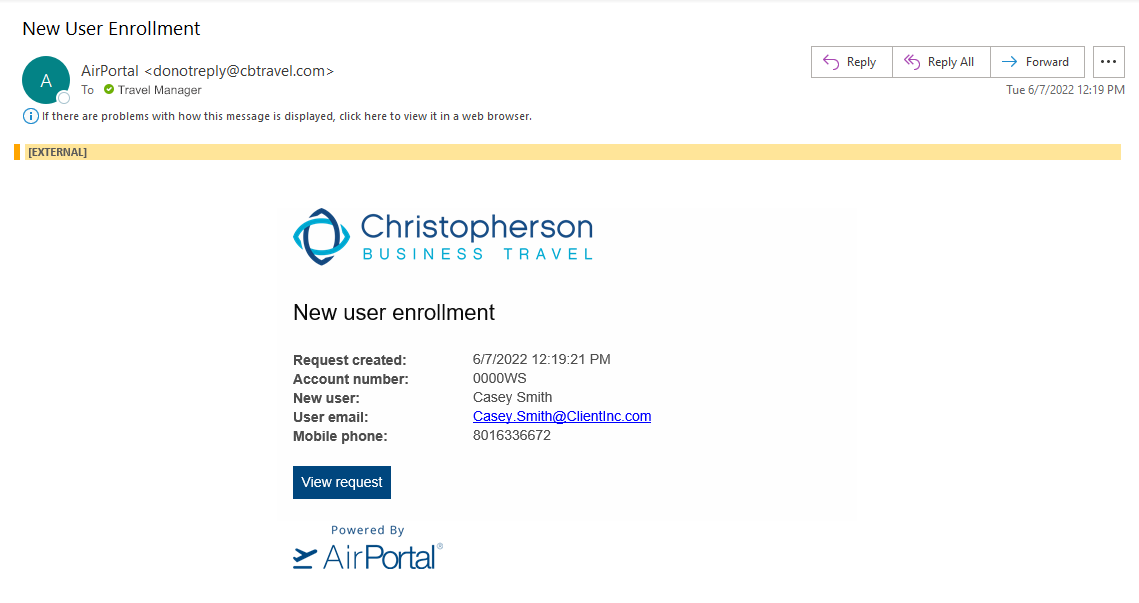
A new user enrollment request is automatically sent to the approver(s), letting them know of the request and including a link to view the request:
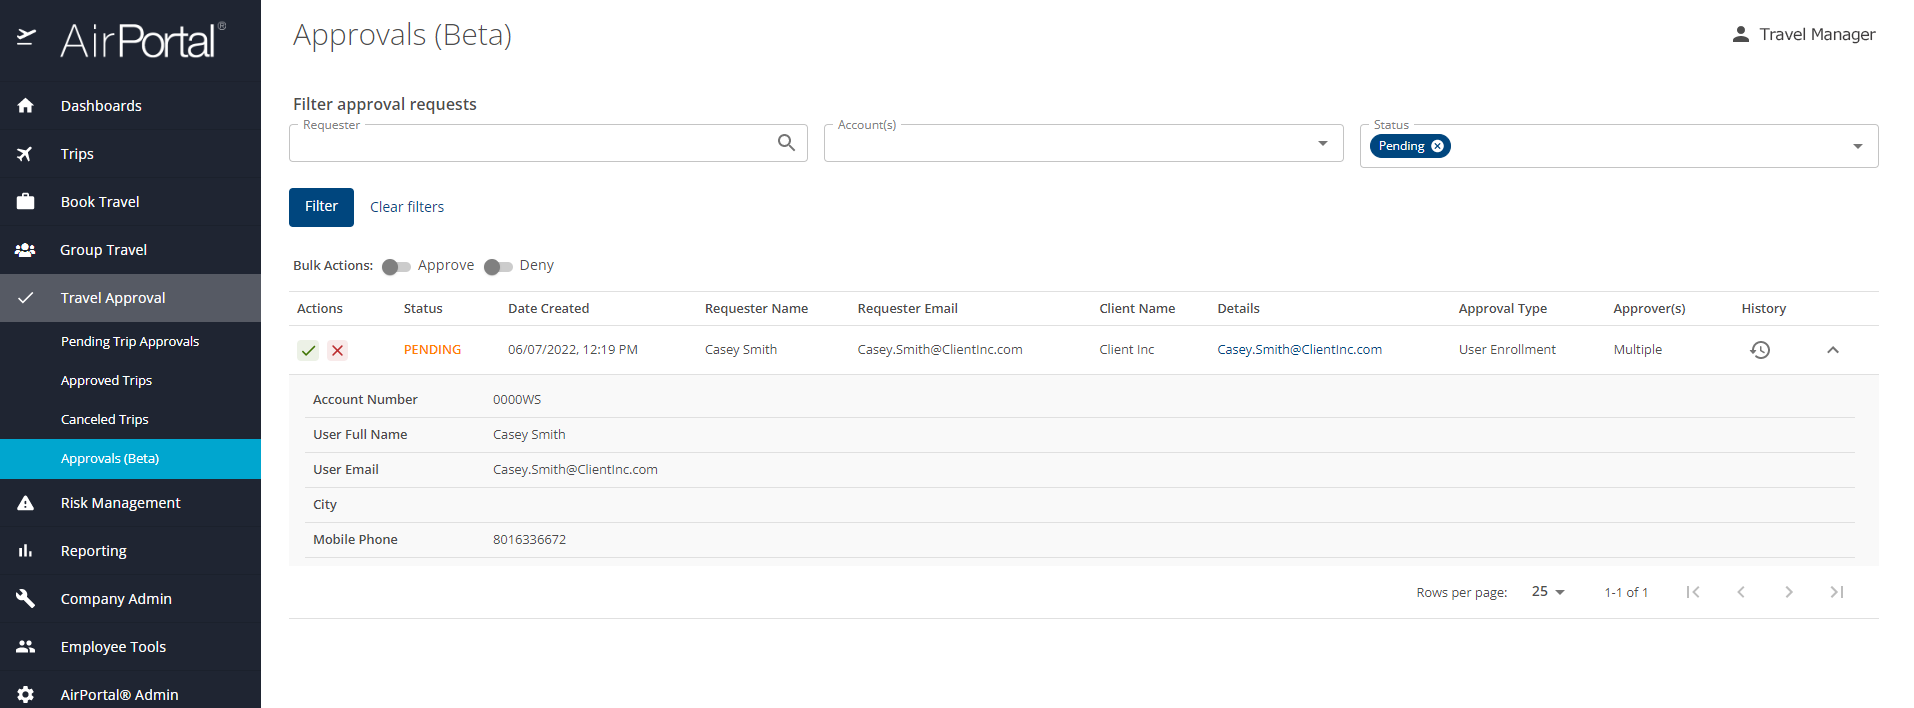
An approver can either click the link in the email or log into Airportal and select “Travel Approval”, then “Approvals (Beta)”. Either choice leads to this screen:
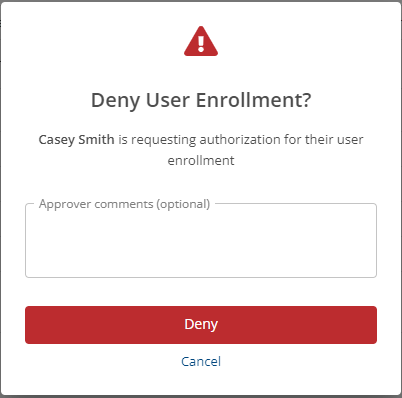
An approver can select the green checkmark or the red X to approve or deny the request. Depending on the selection, one of these screens will appear:
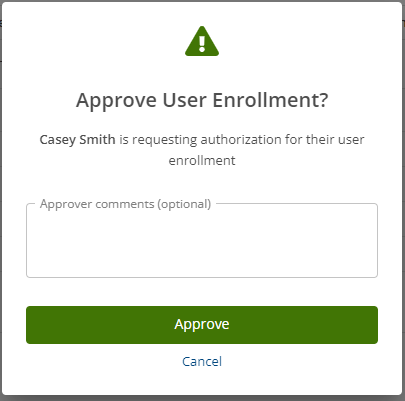
Comments entered in the approve or deny dialogs are emailed to the traveler.When a traveler is approved, they will receive a pair of notification emails informing them of the approval followed by an email titled “Welcome: New User” with instructions and a link to create a password for their account.
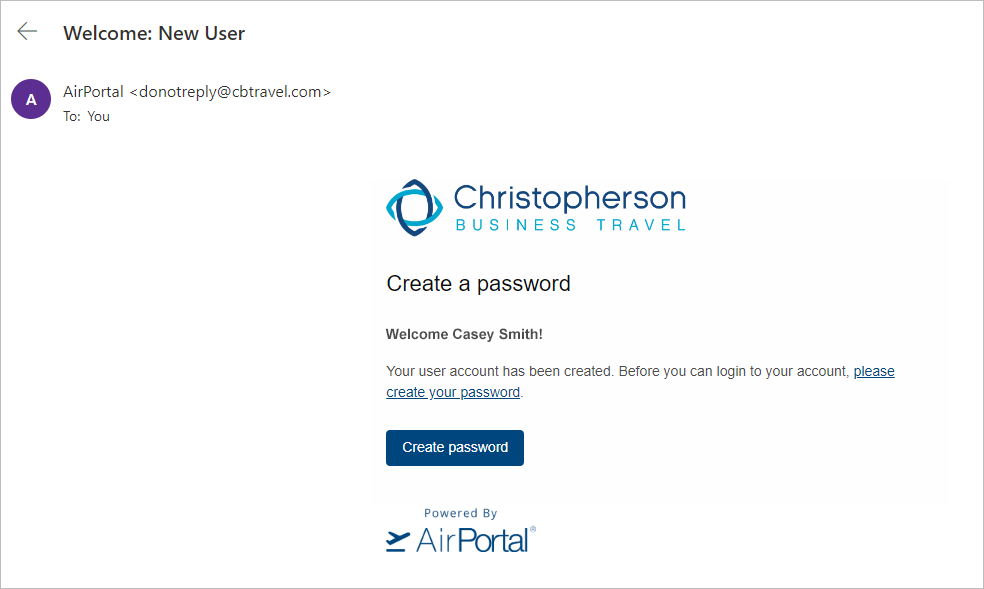
When they click the link in the welcome email, the traveler will be sent to a screen where they can create their password.
NOTE: The link is only active for 12 hours from the time the traveler receives it. After that time period, clicking on the link will trigger a new email to be sent with a new link to create a password:
The traveler must create a password and click “Continue to verify mobile phone” to complete their secure login to AirPortal.
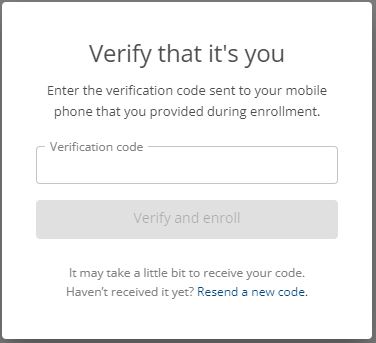
This will automatically text a 6-digit code to the phone number the traveler provided.
The traveler should input the code in the pop-up window and click “Verify and enroll”:
After they have verified their phone, the traveler will be directed to a screen where they must input any other information required by their organization to travel:
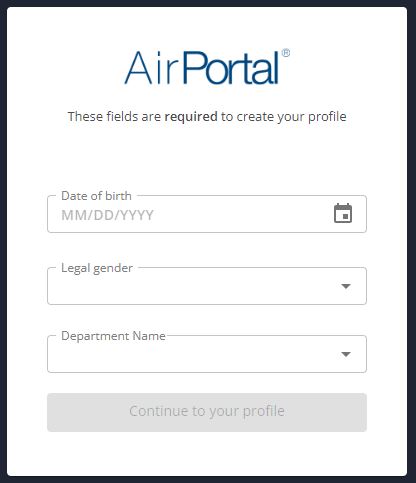
The traveler should click “Continue to your profile” when all fields are complete.
The traveler is then logged into AirPortal. The first screen they will see will be their travel profile screen, where they may complete their profile with optional information, such as travel preferences, loyalty numbers, etc.
That screen looks like this: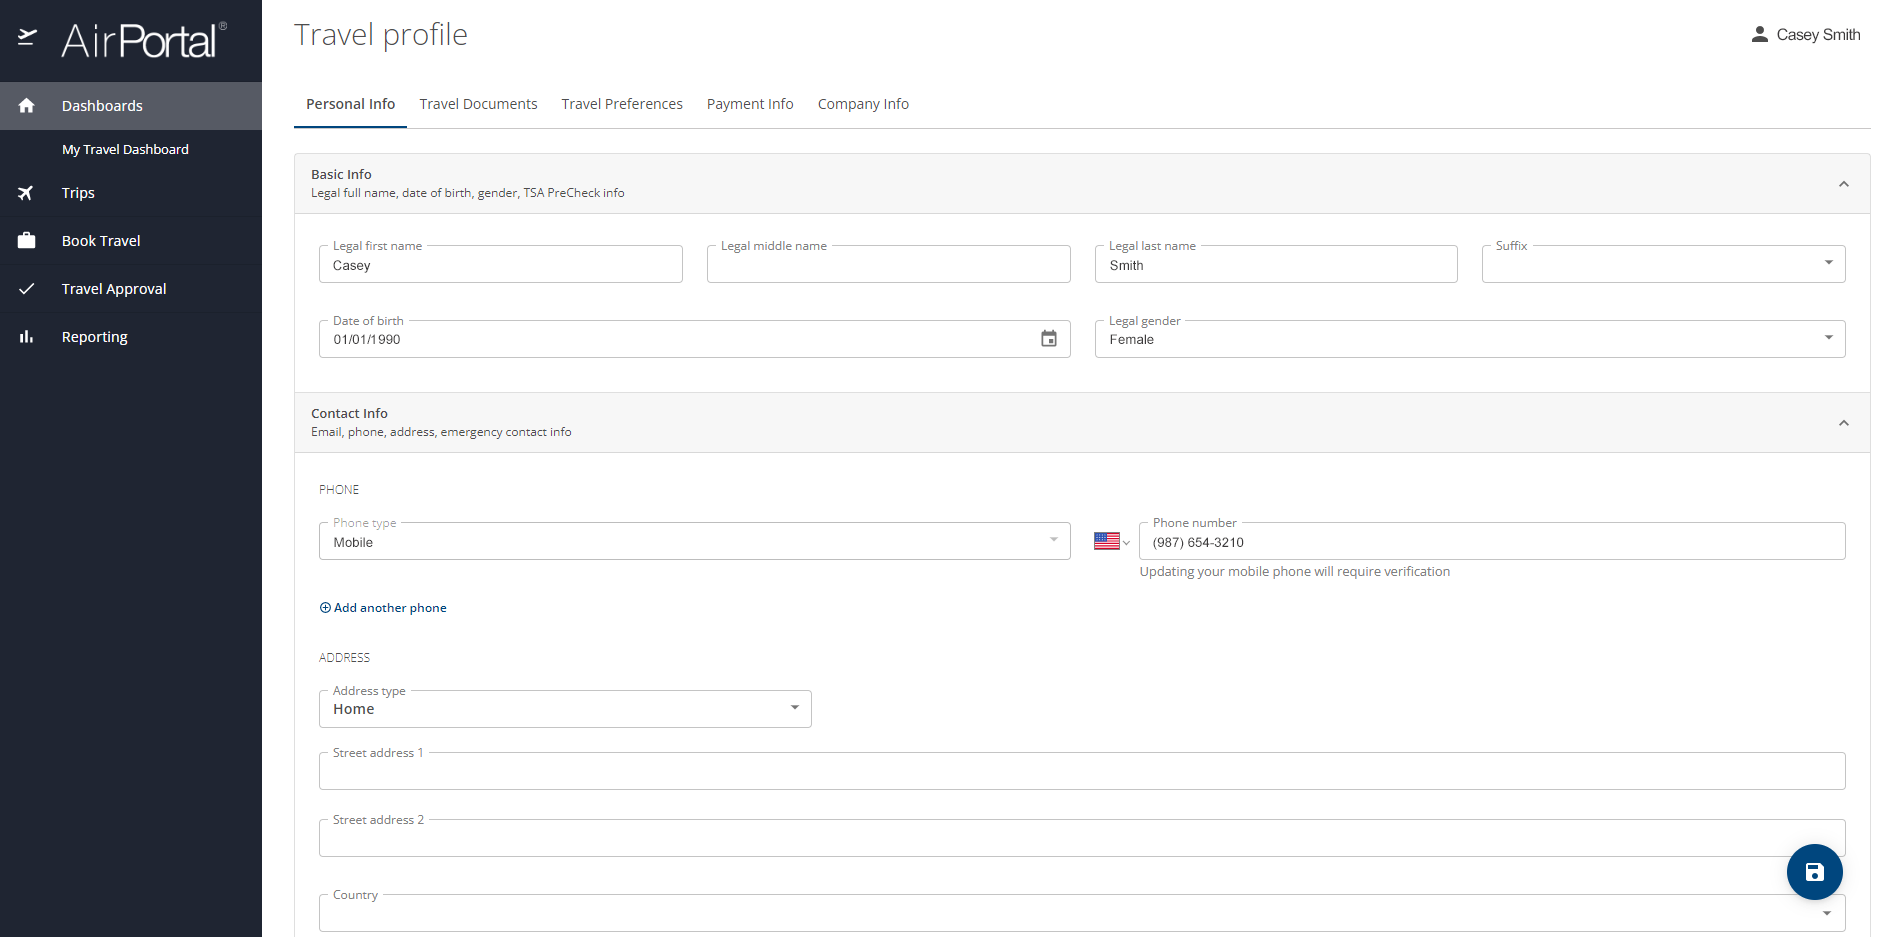
The new user enrollment is now complete.